Getting back into graphics programming at work has inspired me to resurrect some home projects that I've been meaning to work on for a while. One of those projects was to bring my raytracer back to life.
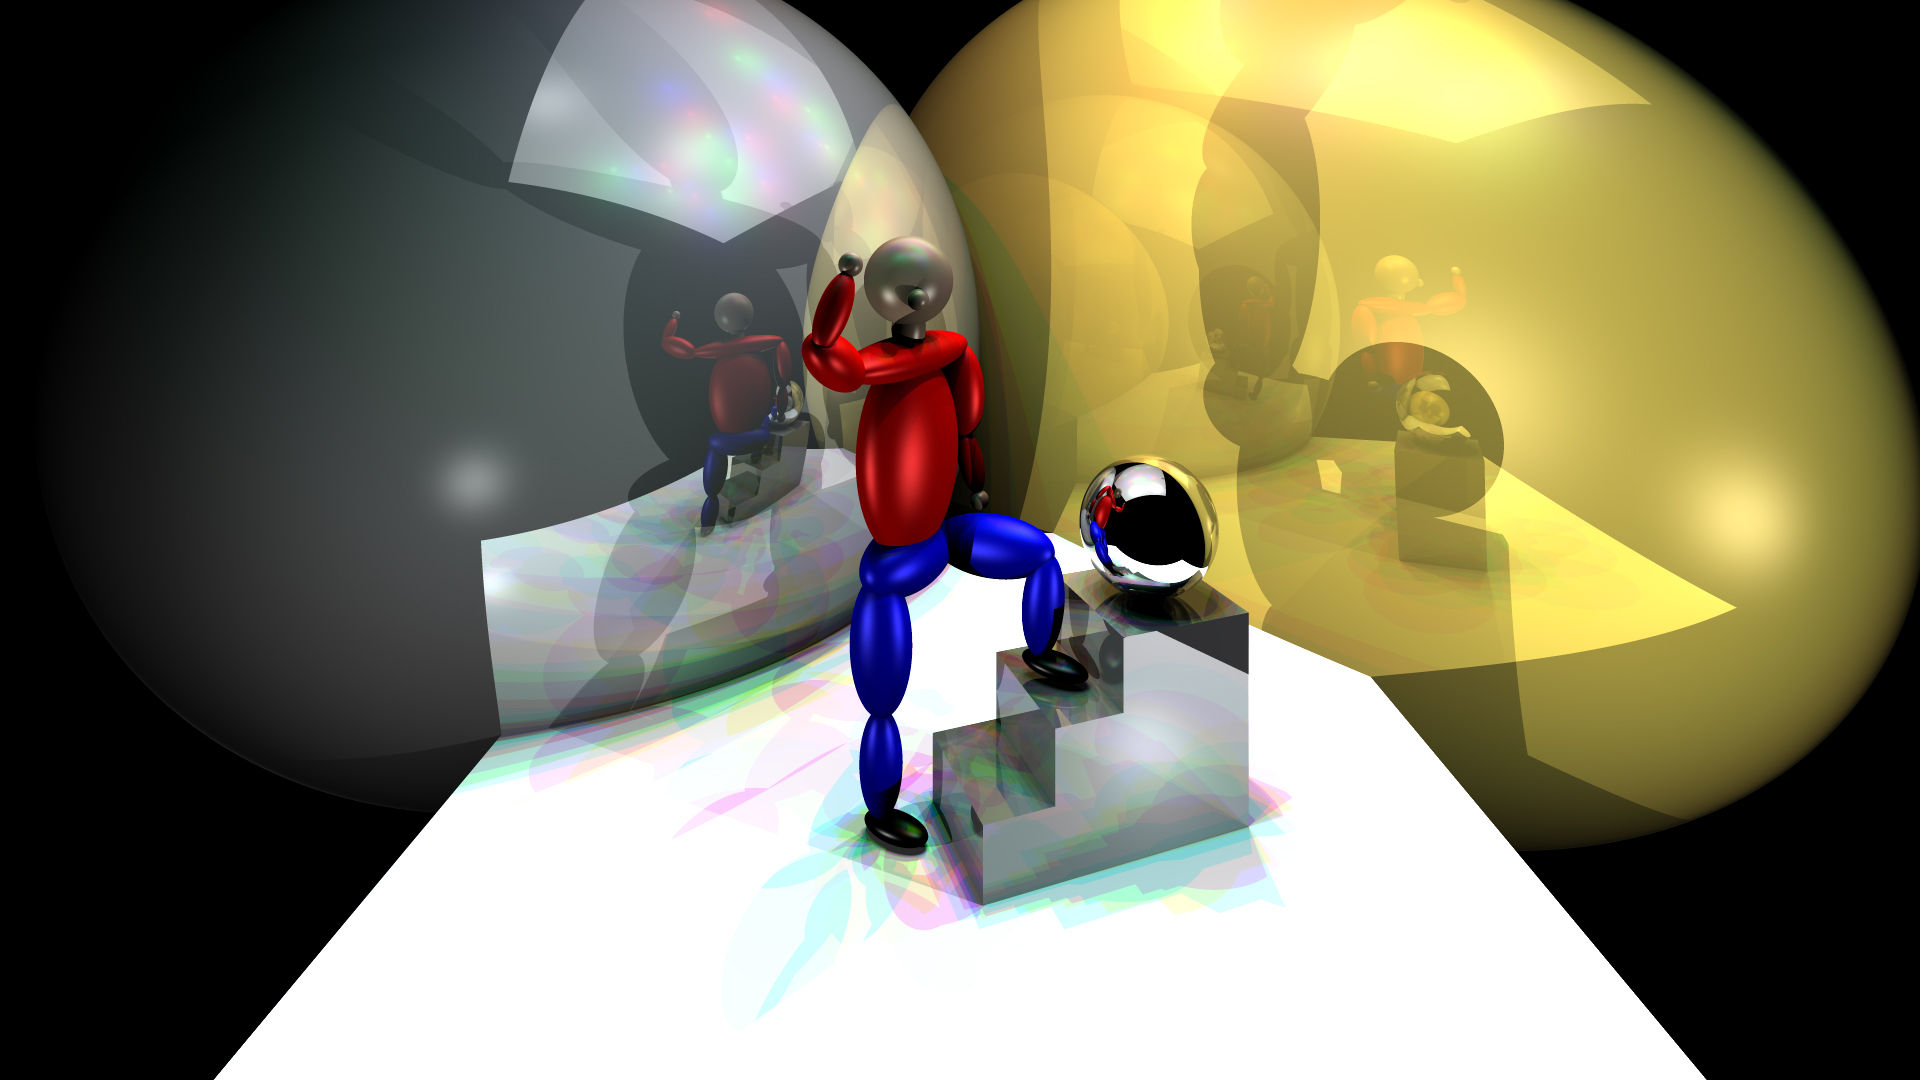
Brief humblebrag story: Way back in 1999 I took CS488 - Computer Graphics, in which assignment 4 was to write a raytracer. I remember hanging out in the Pure Math Club office with my friends... it was around midnight the night before our assignment was due at 8AM. One of my classmates came into the room looking tired and disheveled. He said: "Man, that raytracer assignment was rough... it took me 12 hours to finish it!" I looked at my watch and said: "Well, there are only eight hours left... I'd better get started then!" And thus began one of the most memorable and enjoyable 8 hours that I spent in the computer lab during my entire degree. The lab was a special lab just for computer graphics students, populated with really fancy looking Silicon Graphics workstations. Also, as opposed to every other computer lab with tile floors and harsh fluorescent lighting, the computer graphics lab was dark, and carpeted. It was like a cozy little cave, where you could just focus completely on what you were doing. I spent the full 8 hours from midnight to 8am in that room, along with a few other students, writing my raytracer. Once the primary assignment was done, we could add one optional feature from a provided list for extra credit. I finished the main assignment in just over six hours, so with my remaining time I decided to add support for reflective surfaces. The image here is roughly what I submitted for my assignment (along with the code of course). I think it took about half an hour to render, which means I was done all of the coding just before 7:30AM, then managed to render the image, zip everything up, and submit it just before the deadline of 8AM. Since then, the code has just been tucked away on my hard drive... getting virtually dusty. Since it was written on an SGI system, it needed some effort to port to Windows, and although I started the porting project once, I never finished it. This time I decided to start from the original code that I submitted and make a concerted effort to port it without trying to get too fancy. The image you see here is basically the same code with minimal changes to make it work on Windows, and rendered at a higher resolution than the image I submitted for my assignment. I designed the scene to show off a few things:
Hosted by theorem.ca