I tried my hand at 3D printing for the first time. Swimming pools usually have little devices called eyeballs fitted to the return jets. These eyeballs direct the water flow down into the pool to encourage mixing, and they also provide back pressure to the other return jets to ensure that water flows evenly out of all of the return jets instead of just favouring one or two.
Unfortunately, since we moved into the new house back in 2010, our pool has never had any eyeballs installed on the return jets. At some point in the past, one of the previous owners added tiles around the top of the pool. This was probably to cover up some degradation in the concrete or something. The problem is that the extra thickness of the tiles means that a standard eyeball fitting won't thread into the return jets.
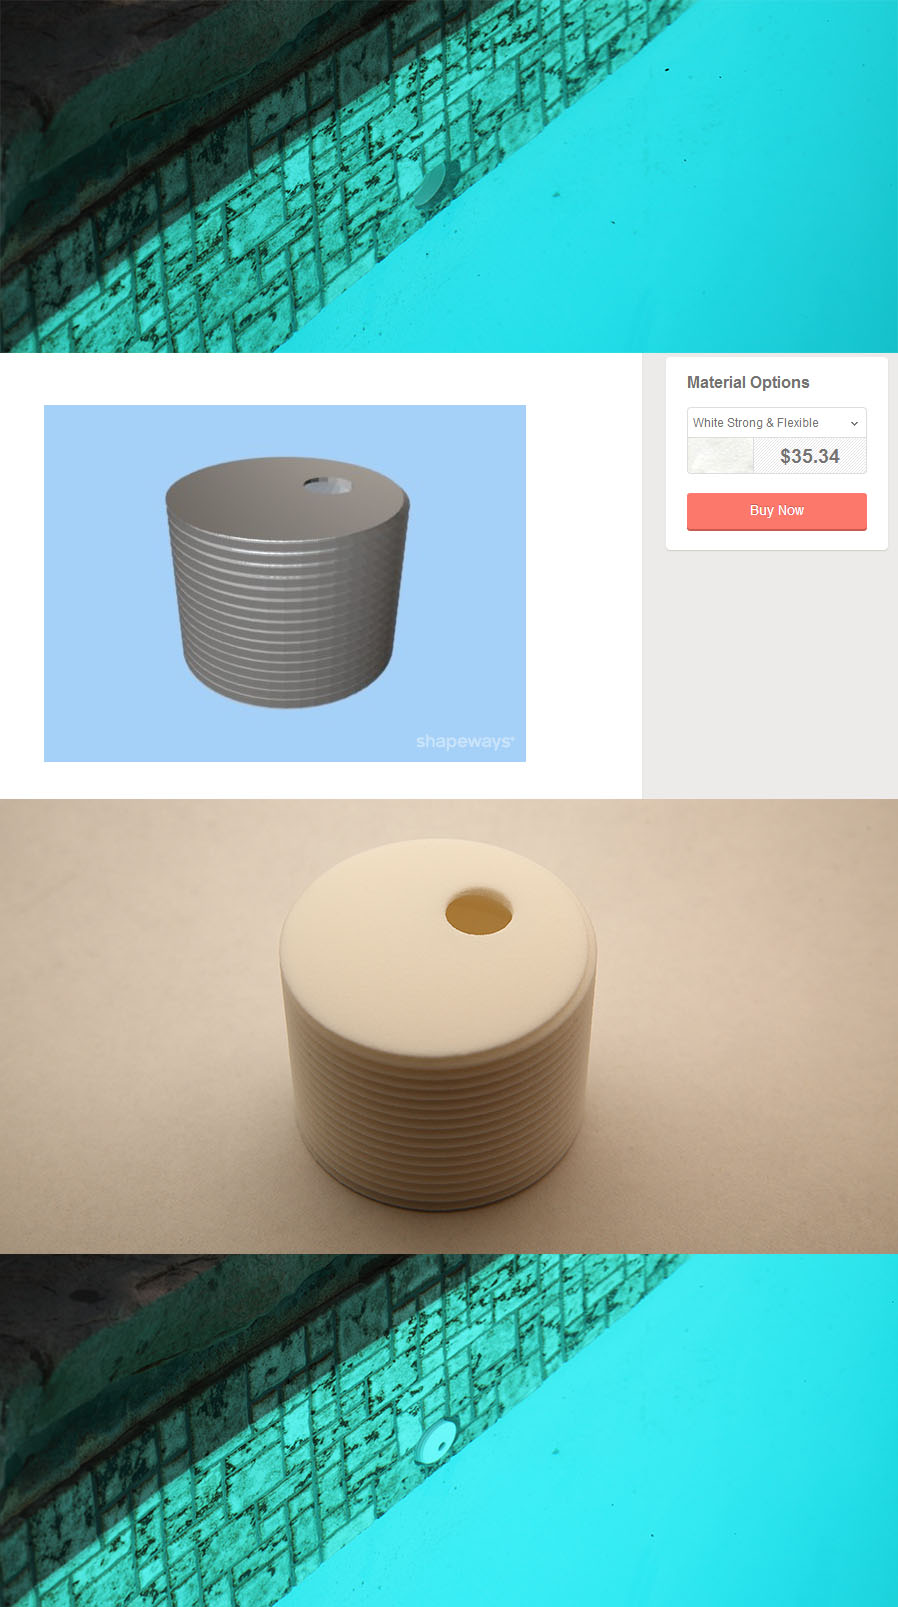
The top picture shows the issue. Standard return jet fittings are just not long enough to reach the threads on the inside of the return jet. As a result, water only comes out of 2 of the 4 return jets, and the water just flows out onto the surface of the pool, and does not get mixed in with water at deeper levels.
I have been following a lot of the hype around the 3D printing revolution and decided to give it a try to see if I could solve my problem. I find that normal 3D CAD software is difficult to use, but luckily for me I found some free software (OpenSCAD) that allows you to design your 3D objects using a scripting language. As a developer, this is awesome. I may not know how to use 3D modelling software, but I can write code as easily as I can speak.
It only took me a couple of hours to design a simple prototype in OpenSCAD. I took measurements of a standard pool eyeball and extended the threads to match the thickness of the tile. Then I designed a very simple fixed opening, offset slightly so that I can "aim" the water jet by loosening or tightening the fitting. I then got OpenSCAD to export the model and I uploaded it to Shapeways, which is an online 3D printing service.
Aside: I wanted to show everyone the script I wrote to generate the object, and I even took a screenshot of the script and the 3D model in OpenSCAD, but then one of my hard drives crashed this weekend and I lost some of the data on it, including my script and the screenshot of my script. So, unfortunately, if I want to tweak my model I will have to rewrite the script from scratch again.
Once the model was uploaded to Shapeways, they give you a choice of materials that you can use to print your object. The price varies by the material. In my case, I wanted a plain white plastic version for my prototype. As you can see from the screenshot, it costs $35 to have Shapeways print it. Also, they use UPS as their shipping service so it cost another $15 in brokerage fees and taxes when it crossed the border.
Still, $50 wasn't too bad for this experiment, considering that there was no existing product on the market that would solve my problem. In the days before 3D printing I would have had to construct a model and then contract with a company in China to do a limited run of 1000 fittings, and my costs would have probably been in the tens of thousands of dollars of initial investment. So, it was extremely gratifying to just design a model, upload it, print it, and then a few days later I received my printed object in the mail. I held my breath a bit when I first tried it since there was no way to be sure that I had got the threading exactly right, but to my amazement it threaded right in perfectly the first time!
The bottom photo shows the same return jet with my prototype fitting installed. I'm going to leave it there for the summer to see how it holds up to the constant water flow and the chlorine. If it survives this summer, I will probably print another one for the return jet on the other side of the pool.
If you've got this far, thanks for reading about my first 3D printing adventure!
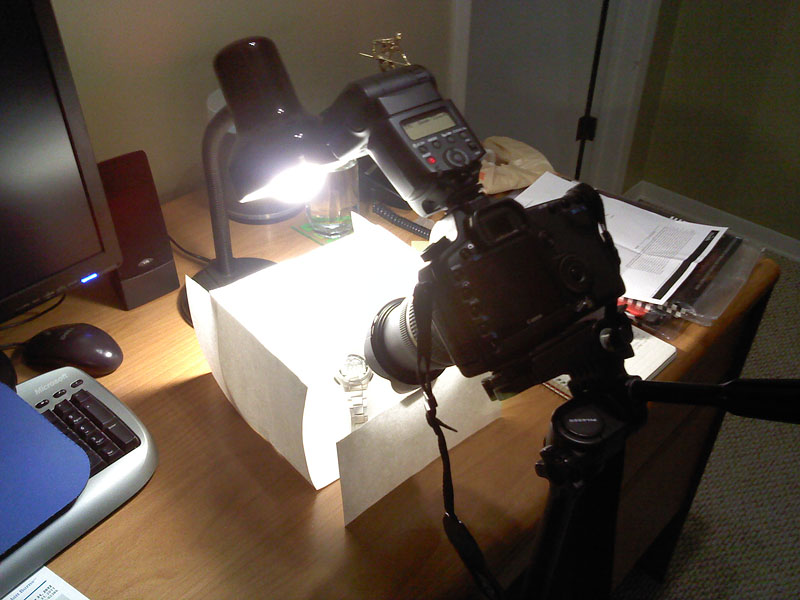
Technical details: The top and bottom photos were taken with my 5D Mark II + EF 100mm Macro at ISO 100, f/8 for 1/50th of a second. The middle photo was taken with my 5D Mark II + Tamron 28-75 at 75mm, ISO 100, f/11 for 1/60th of a second (with Speedlite 430EX flash and my poor man's soft box).
Very neat!! I hope it holds up in the testing period and works out for you. :)-- Alix at 11:41am, Thursday July 18, 2013 EST
What a great problem to solve!	Sorry you lost your script, I wanted to see an
example, so I followed the OpenSCAD link you gave and found a beginner's
tutorial with a sample script for a doorstop.
You must have been really
pleased when it fit perfectly!
-- Mum at 1:32pm, Thursday July 18, 2013 EST
Nice one, Mike!!!

p.s. I miss your cyan coloured background..!
-- Aaron at 7:16pm, Wednesday August 7, 2013 EST
Hosted by theorem.ca