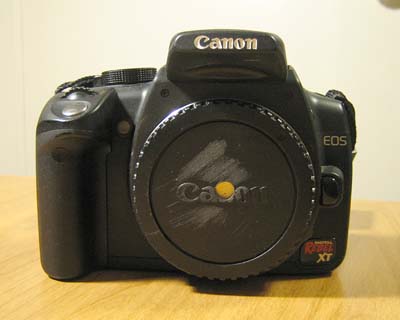
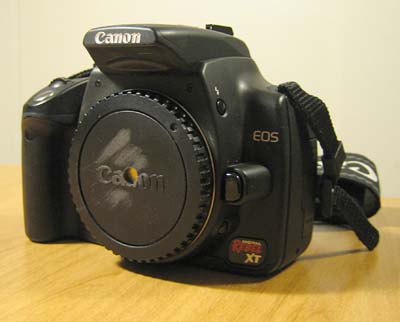
 Rebel XT with pinhole lens attached.
A pinhole lens for the Rebel XT
This is a fun project to do if you have some spare time and want to get back to the basics of photography.
It is easy enough that anyone can do it... but still challenging if you want to get the best results possible.
There are a
few
different
recommended
methods
out there on the web, so I won't try to duplicate those, but I will point out some of the issues I had when I tried to do it myself.
Required Tools
You need to have at least the following items:
- A DSLR or other similar camera with a removeable lens.
- An opaque body cap for your camera that you don't mind altering.
- A very thin sheet of something that is easy to put a tiny hole in... most people recommend brass shim stock.
- Very fine sandpaper (400-600 grit) for cleaning the hole that you punch in the item above.
- A very small needle to punch the hole.
- Some patience and willingness to try multiple times.
Optional items:
- A magnifying glass or jeweller's loupe.
- A number 2 pencil with eraser.
- A drill.
- Some coarse grained sandpaper for cleaning the hole you drill in the body cap with the drill.
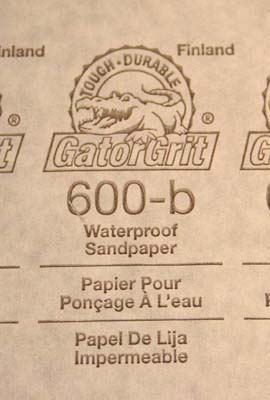 600 grit sandpaper.
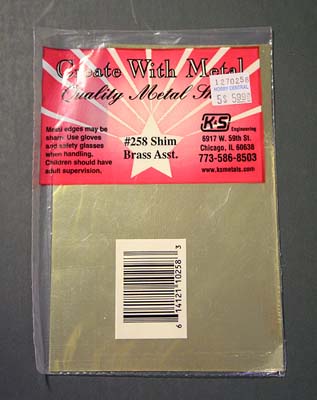
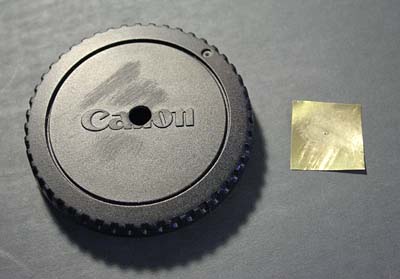
Assorted brass shims:
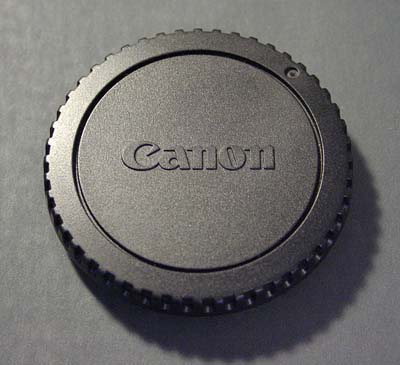
Unmodified Canon EOS body cap.
Finding Stuff
I managed to find some 600-grit sandpaper at Home Hardware.
The brass shim stock was much harder to find.
Some people out there recommend looking in "good hardware stores".
Don't waste your time... go straight to the best hobby store you can find and look for the stuff pictured to the right.
I found this package of assorted brass shims next to the paints and modelling tools.
It has a variety of sizes, so it is perfect for the job.
You should be able to find a body cap at any camera store.
I never use the one that came with my camera, so I sacrificed it for this project.
For the sewing needle I just found the smallest needle we had in the house.
I'm not sure if you can get smaller needles, but it is definitely worth trying!
The smaller, the better in this case.
For fun, I tried measuring the needle I was using.
I don't have any sophisticated measuring equipment, so I pulled out my old grade school ruler and took the following macro shot:
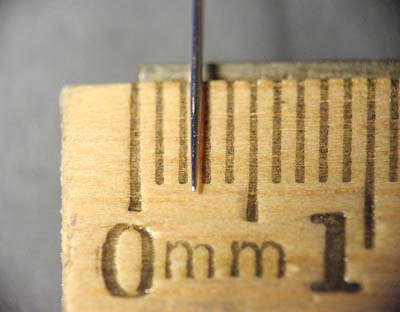 From this scientifically not-so-accurate test, I can see that the needle is somewhere between 0.4 and 0.5 mm in diameter.
Unfortunately, according to
various
pinhole
size
calculators
the optimal size for a 50mm focal length pinhole is between 0.2 and 0.3 mm in diameter.
The important lesson to learn from this is not to punch the needle all the way through the brass, or the hole will be too big.
From this scientifically not-so-accurate test, I can see that the needle is somewhere between 0.4 and 0.5 mm in diameter.
Unfortunately, according to
various
pinhole
size
calculators
the optimal size for a 50mm focal length pinhole is between 0.2 and 0.3 mm in diameter.
The important lesson to learn from this is not to punch the needle all the way through the brass, or the hole will be too big.
The Construction
 Body cap with hole drilled in it.
I started by drilling a hole in the body cap.
I just eyeballed where the center was and used a big drill bit to overcome any error in the placement of the hole.
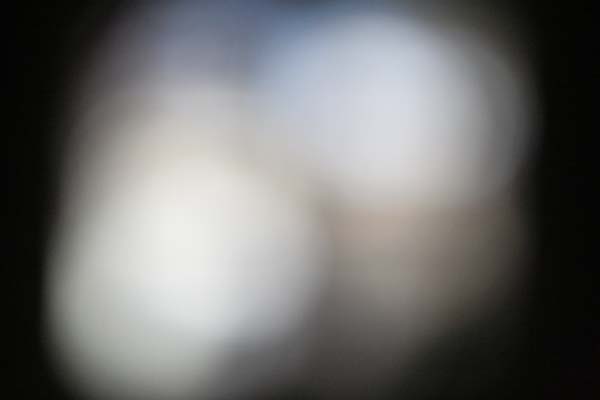
Obviously this hole isn't nearly small enough for our purposes.
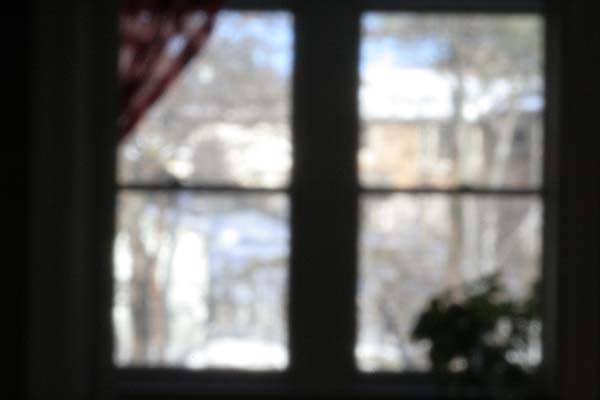
If you take a picture through it, you get something that looks like this:
 Pencil with needle inserted into the eraser.
Clearly we need to do better, or we will never win any photography contests.
Someone suggested using a pencil to hold the needle to get an accurate hole "drilled" through the brass.
I decided to try this technique, and luckily enough I had a box of brand new number 2 pencils in my stationery drawer.

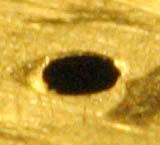
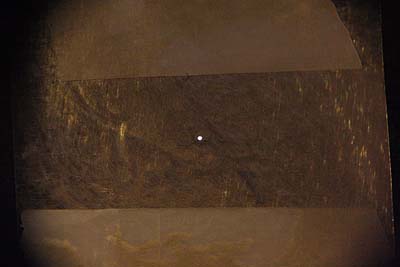
Closeup of 0.5mm pinhole in brass shim.
Getting the needle inserted straight into the pencil was difficult.
Once I got it in, I found that I never had to worry about losing or dropping the needle, and the pencil did provide a good hand grip.
However, the whole setup was kind of flimsy... maybe next time I will just try holding the needle in my hand.
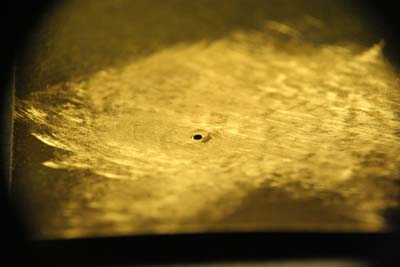
I didn't have a magnifying glass or loupe, so the only way for me to examine my pinhole in detail was to take a macro photo of it and look at the image.
I took the shot to the left after several iterations of poking and sanding both sides of the brass sheet.
From the blow up (actually a 100% crop), you can see that I got an almost circular hole that would have relatively nice optical properties.
Unfortunately, this hole was way too large, since I had poked the needle all the way through in an attempt to get a circular hole.
The results from this pinhole are certainly better than through the body cap alone, but not good enough:
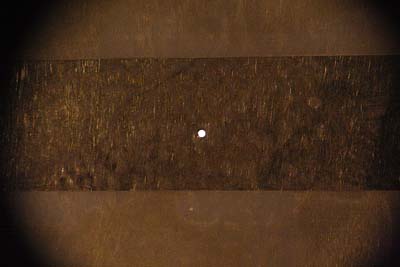
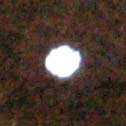
Analysis of 0.5mm pinhole.
Again, since I didn't have any high precision measuring devices, I took some approximately 1:1 macro photos (at right) of the pinhole in an attempt to try to measure the diameter.
I found that the numbers agreed roughly with my needle photo above: 0.4 to 0.5 mm. Too large.
At least I got a nice circular hole, aside from the one problem on the lower left!
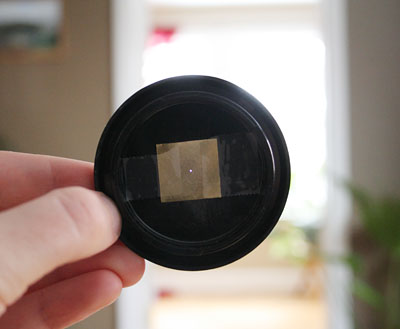
 Body cap and 0.5mm pinhole in brass shim.
The photo on the left gives a sense of scale between the brass pinhole and the hole in the body cap.
I took it just before I used tape to attach the brass plate to the back of the body.
Second Try
I made a second attempt at a smaller hole.
This time I didn't spend much effort making it round... I just wanted to make it small, so I poked just a little bit of the needle through and sanded it down.
These two photos show the result:
Analysis of 0.2mm pinhole.
 A view through the pinhole lens.
 The camera looks sort of funny with such a small "lens".
Although the hole isn't round, it gives better results than the larger hole above, as evidenced by this test photo:

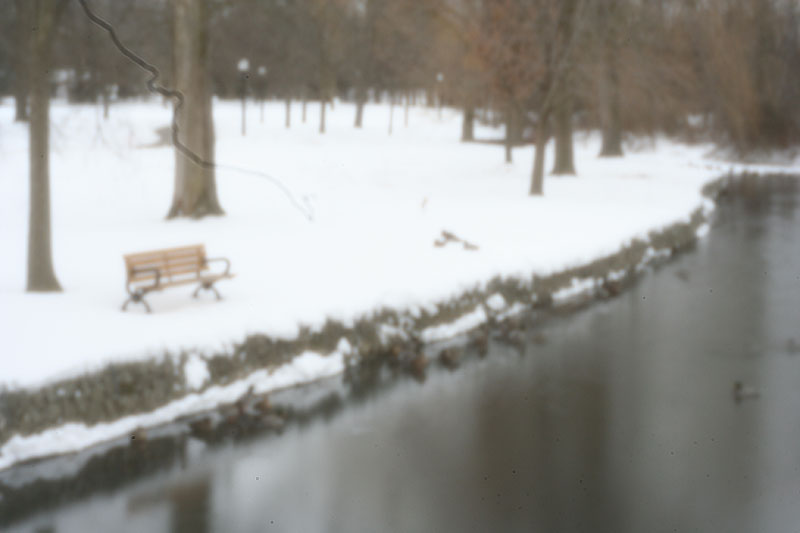
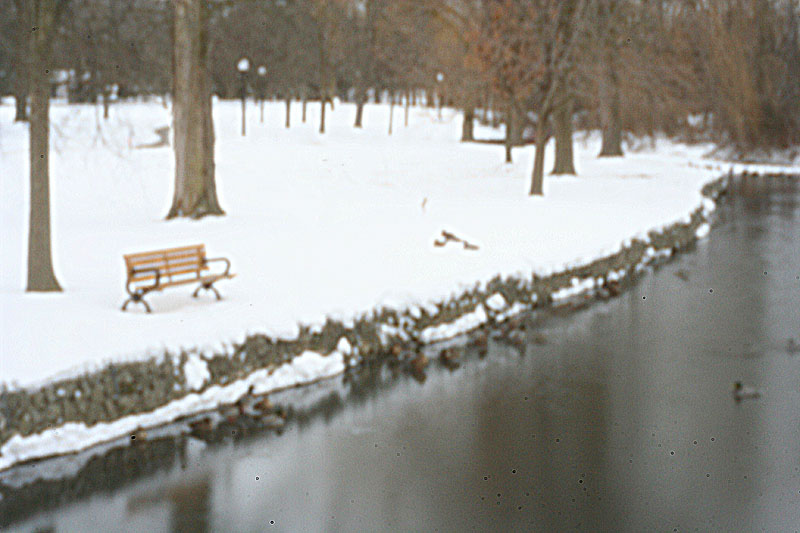
The Final Result
I went out to Victoria Park to take a "real world" test photo. It was cold and windy, so I didn't stay out for long.
The first image is straight out of the camera with no processing, except that it has been converted from RAW to JPEG and downsized for the web.
As you can see, the very small effective aperture (somewhere between f/128 and f/256) means that any dust (or hair???) on the sensor sticks out like a sore thumb.
I just cleaned my sensor recently so the dust isn't too bad.
The second image is what I got after massive sharpening, a little bit of saturation and contrast, and some clone tool to get rid of that pesky hair.
I left the other sensor dust for dramatic effect.
Conclusion
There you have it! A simple pinhole lens for my Rebel XT.
Hopefully this has been some sort of inspiration or help if you want to try this yourself.
Maybe if I'm bored again I will try to make a more circular pinhole, and do some more accurate measurements to try to get the optimal size.
Home
-
Feedback
Hosted by theorem.ca